Patron attributes on the registration form

Step 1 - The Patron Registration Form before adding custom fields

In addition to these set fields it is possible for library staff to add custom fields to this form to capture information specific to their organisations.
The first example will deal with adding a free text additional attribute to this form and then how to add an additional attribute with multiple options in a dropdown will be outlined.
Step 2 - Creating the Attribute Type

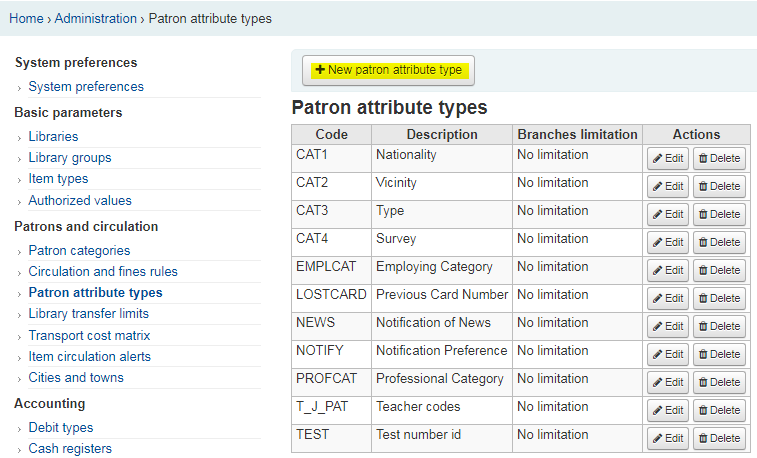
This will bring you to a new page with a form to define the new attribute.

The two required fields are the Patron Attribute Code, which should be in keeping with coding conventions already on your system and Description, which is the name of the field as it will appear in the patron registration form.
All, some or none of these attributes can be checked depending on how you want the attribute to function. The results of ticking the other options are as follows:
Repeatable
This attribute can be added multiple times and different values can be entered each time.
Unique Identifier
Each time this attribute is used it must be unique to the patron record it is being applied to.
Display in OPAC
This attribute will appear in patron record on the OPAC
Searchable
Attribute will be searchable on the staff side
Display in check-out
Attribute will show on the item checkout screen
Branches limitation
This allows you to limit the attribute to patrons associated with a particular library branch or patron category, however this is not mandatory.
Category
This option allows the attribute to be limited to a specific patron category.
Class
This option allows you to group Patron Attributes together under a common heading for ease of navigation.
Once you are satisfied with how the attribute type is configured, hit Save.
The created attribute will appear in the attribute types table.

Step 3 - Patron Registration Form after Authorized Value
The new patron attribute will appear at the bottom of the form under the field Additional Attributes and Identifiers.

Creating an Extended Patron attribute linked to an Authorized Value
Before we can add an attribute with multiple options, we need to create details for the options we want in authorized values. We will be adding a Terms and Conditions value with the options to yes or no, as this is a straightforward way to demonstrate the functionality.
Go to KOHA Administration > Basic Parameters > Authorized Values > New Category.


Add the words Terms and Conditions to the Category box and hit save. This will create a new category in the authorised values table where the specific options to appear on the form will be created.


After the overall Terms and Conditions category has been created, it is necessary to create the options that will appear on the patron registration form. To do this, click the +New authorized value for terms and conditions.

This will bring you to a new page with a form for creating the specific options within the authorized value.
Authorized value

Generally, this should be filled out numerically, but it is possible to add text here. If in any doubt about how to fill this field please contact Interleaf for guidance. In this case, the authorized value will be 0 for No and 1 for Yes.
Description
This should be the human readable explanation of what the authorized value is. This is what will appear in the dropdown on the patron registration form.
Description OPAC
This is an option field for when creating an authorized value relating to features that will be viewed on the OPAC.
When you are satisfied this has been filled out as you want it, hit Save.
In this case, complete this twice, once for yes and once for no. The authorized value table should look something like this:

Step 5 - Associating an authorized value with an extended patron attribute
To create an attribute type associated with this authorized value, follow the same steps as for creating a free text attribute type, but additionally, click the Authorized value category dropdown.

This will show a dropdown list of all authorized values that can be associated with an extended patron attribute. From the dropdown menu, pick the authorized value containing the options to appear on the registration form, in this case Terms and Conditions.
Once you are satisfied with how the attribute type is configured, hit Save.
The created attribute will appear in the attribute types table.

Step 4- Patron Registration Form after Authorized Value
The new patron attribute will appear at the bottom of the form under the field Additional Attributes and Identifiers, along with any other attributes that have already been created.

However, unlike the Class additional attribute, this attribute is a dropdown containing the options defined in the Terms and Conditions authorized value.
Related Articles
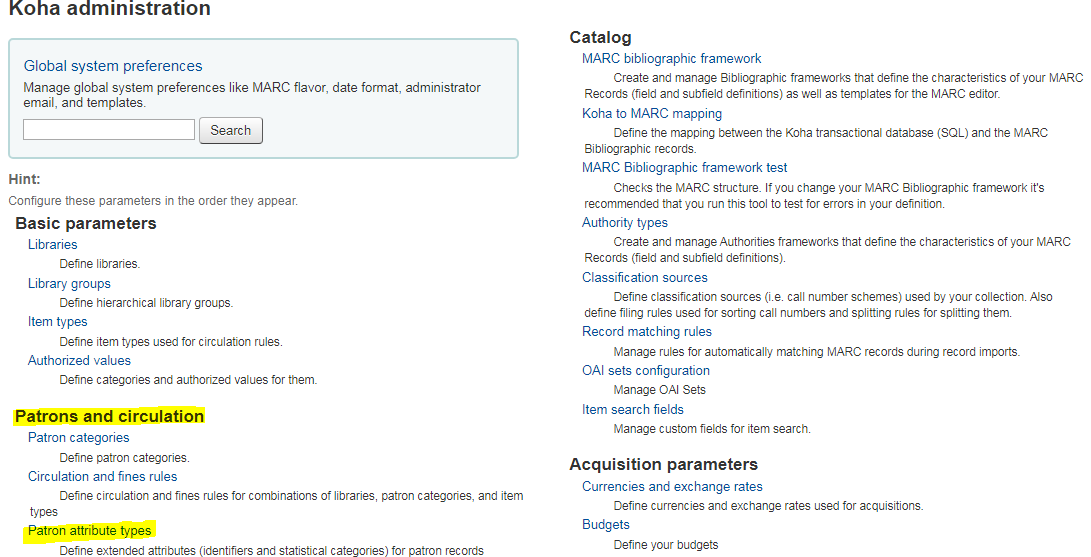
A tour of the patron attribute form
This document will outline how to create a patron attribute type. For more information on the functions of patron attribute types, please check our Help Centre. Navigate to the patron attribute type table Go to KOHA Administration > Patrons and ...How to Batch Edit Extended Patron Attributes
This document outlines how to perform a batch patron modification for extended patron attributes. Extended patron attributes capture non - standard information about patrons and for more information about them please see our Help Centre. Step 1 - ...How to remove fields from borrower registration form
Step 1- The Patron Registration Form To get to the add patron form go to Patrons > New patron and choose any patron category from the dropdown list. As it is possible to add or remove items from the Patron Registration form the content may vary from ...How to make fields on the borrower registration form mandatory
This document will outline how to require a specific field be filled out when a new patron is being created. + New patron form before marking a field as mandatory Navigate to the patron add form through Patrons > New patron dropdown and choose any ...How to enable self-registration for patrons on the OPAC
It is possible to allow people to self register for accounts on the OPAC by enabling the self registration form. This document will walk through the basic steps for enabling this function. Find the System Preferences Go to Koha administration > ...